To create a successful real estate video, always pay attention to the timing, lighting, and property declaration. However, applying techniques to produce a real estate video is the most successful. This article will show you the essential tips that 100% professional videographers must do to create an outstanding and influential real estate video!
Select Real Estate Videography Equipment
A full-frame DSLR camera is a perfect choice for photography and videography. The unique reflex design of the DSLR camera allows light to travel through a lens and a mirror. They were then combined to send the image/video to their built-in image sensor. This allows for higher quality and more efficient technology built into the camera. Models recording 1080p video or 30 fps are my favorite, thanks for its solid video quality.
Less distorted lenses like 17–40mm or 16–35mm are used widely in real estate videography. If shooting a small room, shooting in the 15mm range or using the widest angle lens is the best. Bigger rooms should use a 35mm angle. Doing it presents less distortion, especially towards the edges of the frame.
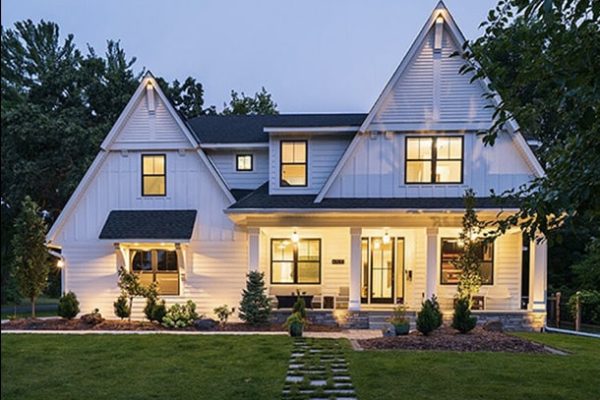
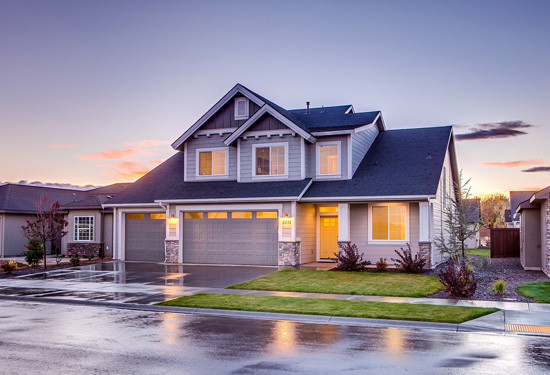
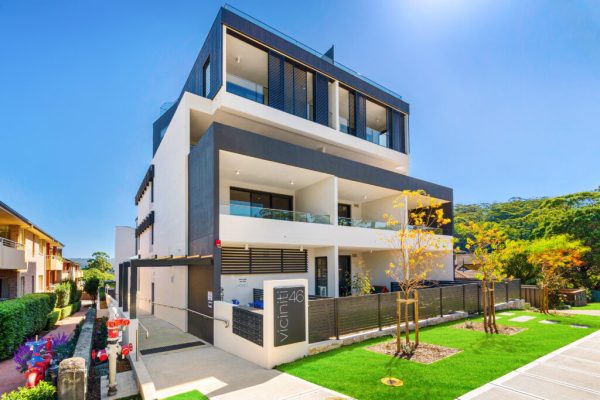
Film the exterior
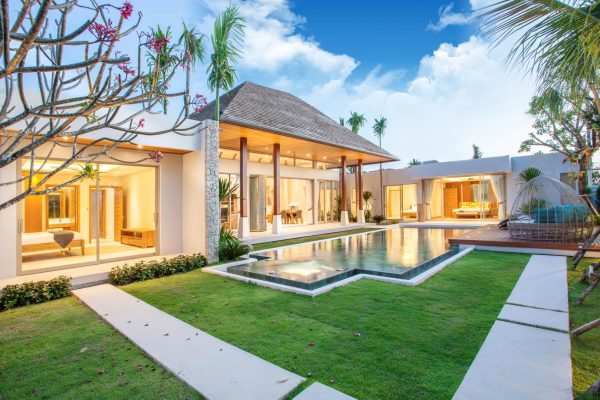
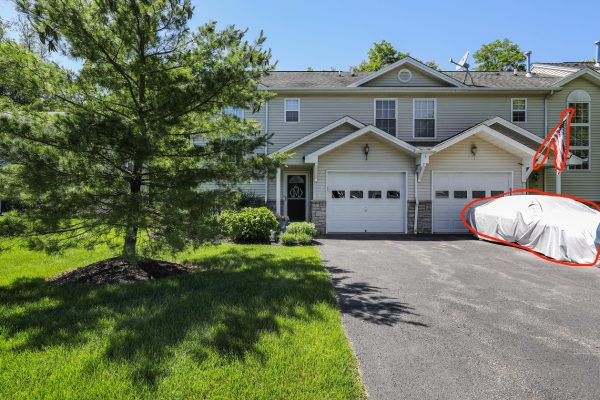
Let’s start with drone video if you can! Drone real estate videography perfectly depicts what the property is actually like. Furthermore, the whole layout of the property: nearby attractions, amenities, parks, is captured. Aerial filming makes the property with land so alluring. Apart from creating accuracy, the appealing look of cinematic drone videography is constantly engaging for potential buyers.
Exterior footage is always presented with wide angles. At this stage, with the help of a slider or a panning camera, the real estate video would have a more cinematic, smooth-looking feel. We also should add some nice shots of the surrounding neighborhood. But, then, always try to mix up movements.
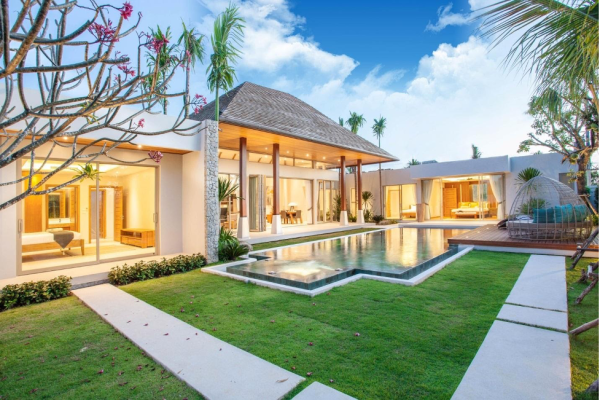
Film the interior
The requirement in this step is to create a visual flow. For example, you are likely walking toward the house and moving from one room to another. Besides using sliders, glides bring viewers into the scene by moving the camera from front to back. Pans and tilts also look great for detail shots like hardwood floors, tile, or countertops.
Let’s start the interior filming by facing the door to transition the view from outside to inside. Then, showcase the first “main” room that potential buyers would be seeing as if they walked inside. This is usually a study/office or maybe a dining room. If the home starts with guest rooms, please avoid them. Then, head straight to the kitchen or main living as that’s more important to any buyers. The goal is to show the layout as best as possible while minimizing walk time. Doing so makes the video not too long!
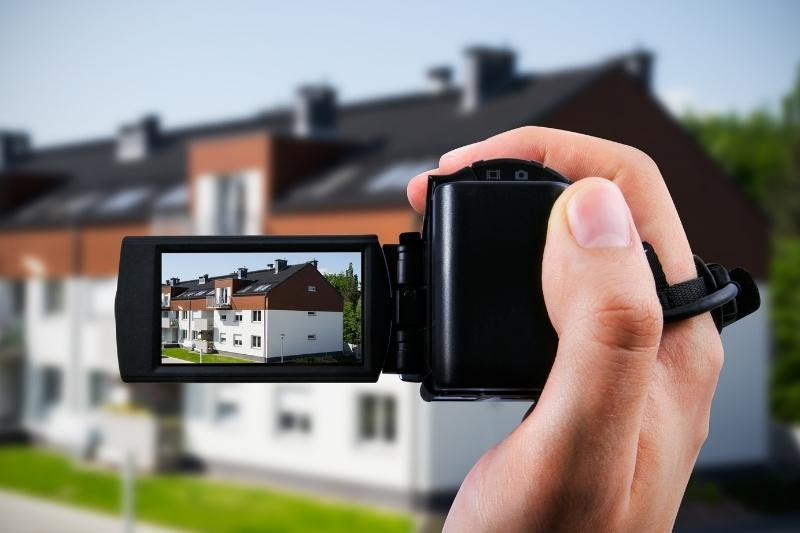
Video Editing
Accurate Estate Video Editing is a crucial step that every professional video maker can’t miss out on. To keep viewers involved, the ideal length of one video shouldn’t be over 3 minutes. Furthermore, don’t forget to add up-tempo music to make the video real estate upbeat and energetic.
You know that not 100% of real estate videographers are familiar with editing techniques and have much time to post-processing. FTE Design provides a video editing service with a 24-hours turnaround time. We care much about trim details to ensure that your output is outstanding and reflects the soul of the property!